


This is the first of two wedding cards that I made for hubby's cousin and her new husband.
They had an amazing reception on board HMS Warrior. It really was remarkable (if a little dark) eating your meal at the tables in the same conditions as the seamen. The kids thought it was great as well, as they had the run of the ship for the whole evening.
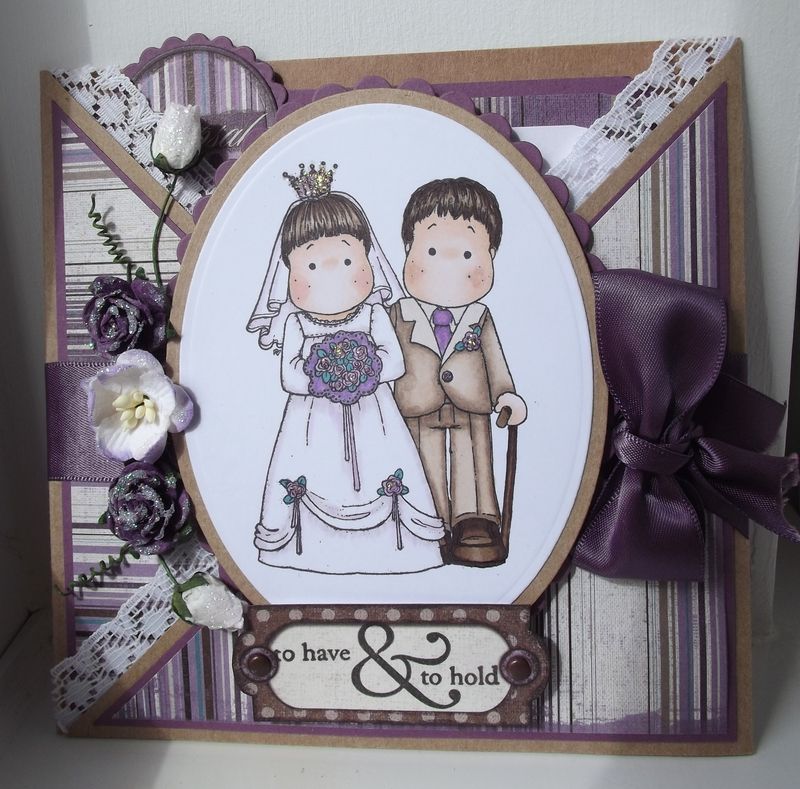
This is a style of card that I've been wanting to make for a number of years now, especially having seen the wonderful cards that Teresa makes!!!
The card in question is a criss-cross card, that actually requires a stand in order to actually stand up, or needs to be leant up against the wall.
Two pieces of craft card were cut to 5.75" x 11.5" and scored in half to create two 5.75" square card blanks. The upper triangle was then cut away from each piece, one on the left flap, the other the right. The two pieces were then adhered together in the centre to create the basis of the criss-cross card.
Each of the front panels were then decorated with mauve card and striped patterned paper from the HOTP Vintage paper pad. A length of ivory lace was then attached to the inside of both of the flaps.
The next step was to stick down the two flaps, but ensuring that they created a pocket to enable a tag to be slotted into the card at a later date. This was done by adding red-liner tape to the lower edge of the left flap and adhering down to the centre panel. The right hand panel had red-liner tape added to the lower edge and a little way up the diagonal side.

The image, Classic Bridal Couple by Magnolia, was then stamped using Memento Tuxedo Black ink and coloured using Copic markers:
Tilda
Hair: E41, E43, E44, E49
Skin: E000, E00, E21, R20
Crown: W1, V12, V15
Veil/Dress: V12, W1
Flowers: V04, V12, V15
Leaves: BG09
Lace Frill (Bouquet): V17
Ribbons: V15
Edwin
Skin: E000, E00, E21, E13
Hair: E41, E43, E44, E49
Suit: E40, E41, E43, E44, E49
Shoes/Cane: E43, E44, E49
Shirt: E40
Tie: V12, V15
Button: V15
The image was diecut using a Classic Oval Nestabilities die and matted onto a Kraft oval and mauve Scalloped Nestabilities Oval.
A length of mauve satin ribbon was wrapped around the whole card and the image panel adhered on the front of the card. A bow was tied in a length of the ribbon and added to the side of the image panel.

A bouquet of paper flowers from Wild Orchid Crafts were then added to the left of the image panel, which were dusted in DecoArt Crystal Glamour Dust.
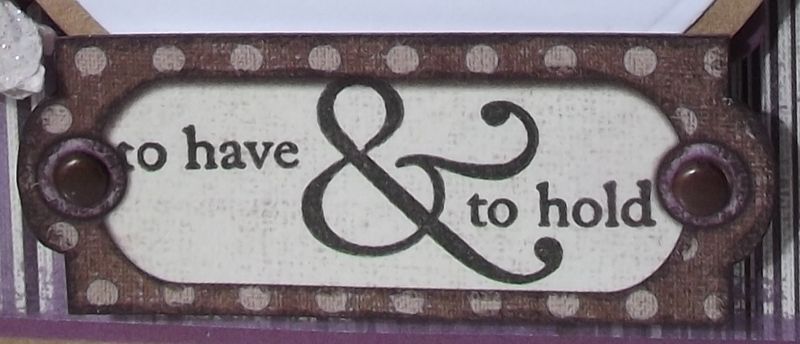
The last step for the front of the card was to add the sentiment. The panel was taken from the Vintage paper pad, and stamped using the 'To Have & To Hold' stamp from the American Crafts Wedding stamp set. A couple of brads were added to the sentiment panel and this was then added below the image panel.
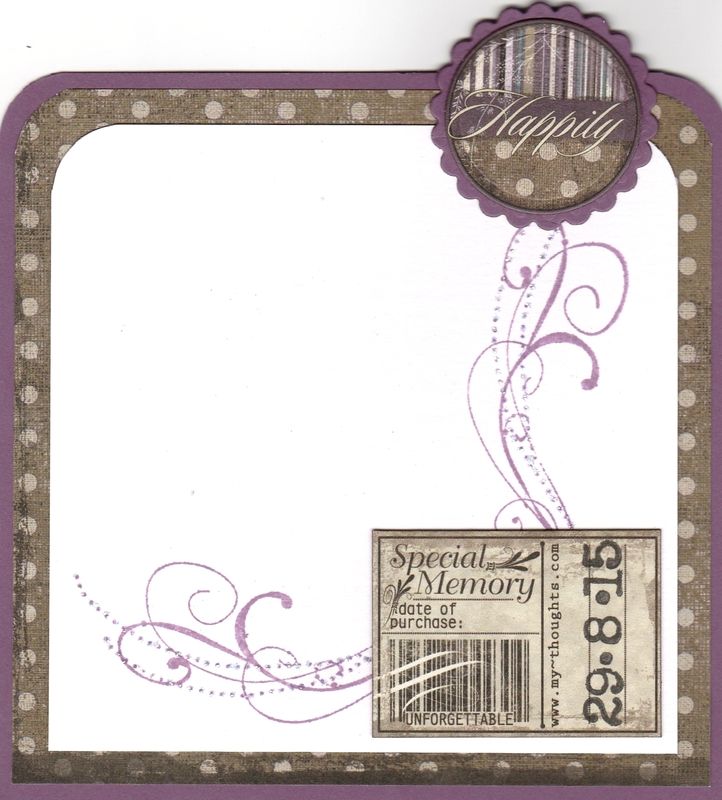
To finish the card, a tag was created using papers and tags from the Vintage paper pad. The front of the tag was stamped using a Lili of the Valley sentiment stamp and Versafine Onyx Black archival pigment ink and a flourish stamp from the Autumn Leaves Rhona Farrer Flourishes v2 stamp set, stamped with Memento Sweet Plum ink.
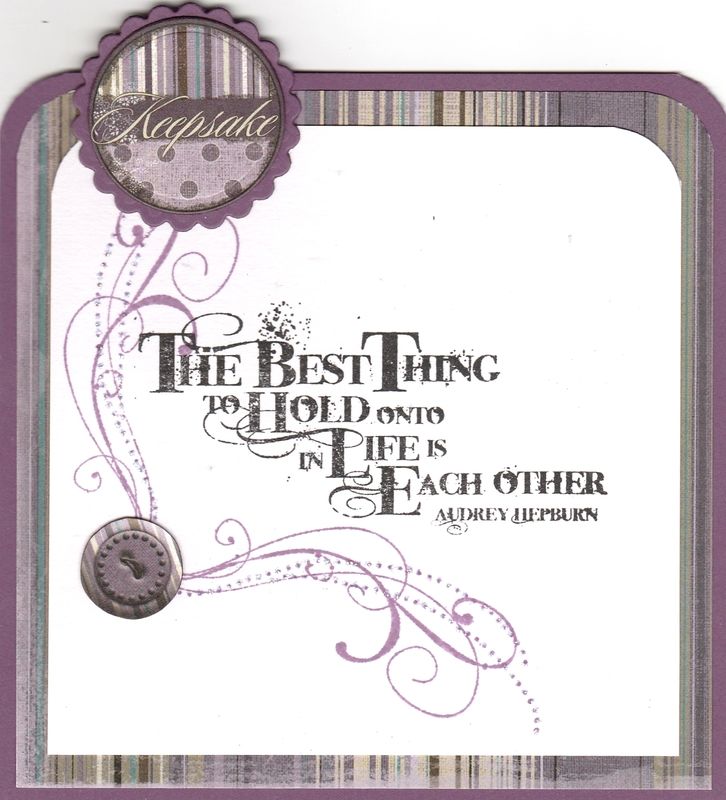
The reverse was also stamped using the flourish stamp and a tag from the Vintage paper pad was added in the corner. The date of the wedding was stamped onto the tag using number stamps from the Labelled With Love stamp set that was free with the Simply Homemade magazine.
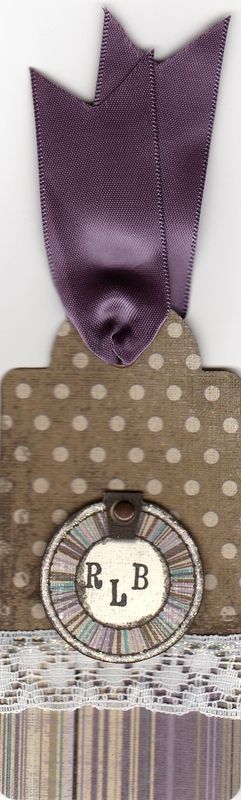
To accompany the card, a tag was created to go on to the wedding present. This was made using papers from the Vintage paper pad, a short length of lace and the mauve satin ribbon.
The bride and groom's initials were added to a tag from the paper pad using a Dovecraft mini alphabet stamp set. A brad to match the front of the card was added to the initialled tag before it was attached to the front of the tag.


No comments:
Post a Comment